小程序容器助力企业在金融与物联网领域实现高效合规运营,带来的新机遇与挑战如何管理?
310
2024-09-04

这次给大家带来如何使用微信小程序做出图片上传,使用微信小程序做出图片上传的注意事项有哪些,下面就是实战案例,一起来看一下。
先来看一下微信小程序的api

来看一下页面效果
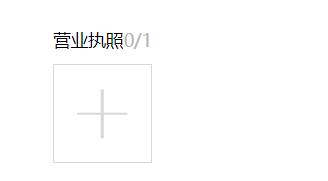
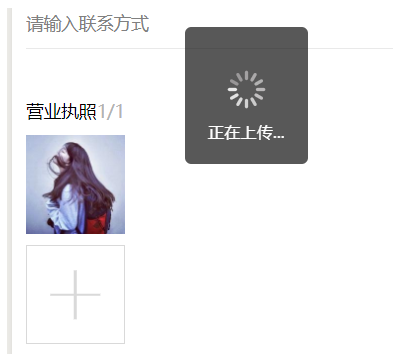
查看大图

wxml文件代码:
1 2 3 4 5 6 7 8 9 10 11 12 13 14 15 16 17 18 19 20 21 22 |
|
js文件代码
1 2 3 4 5 6 7 8 9 10 11 12 13 14 15 16 17 18 19 20 21 22 23 24 25 26 27 28 29 30 31 32 33 34 35 36 37 38 39 40 41 42 43 44 45 46 47 48 49 50 51 52 53 54 55 56 57 58 59 60 61 62 |
|
java 后端代码:
1 2 3 4 5 6 7 8 9 10 11 12 13 14 15 16 17 18 19 20 21 22 23 24 25 26 27 28 29 30 31 32 33 34 35 36 37 38 39 40 41 42 43 44 45 46 47 48 49 50 51 |
|
来看一下之前在前端js输出的内容:

打开浏览器用我们的服务器的地址加上后台返回json的dizhi字段去访问这张图片
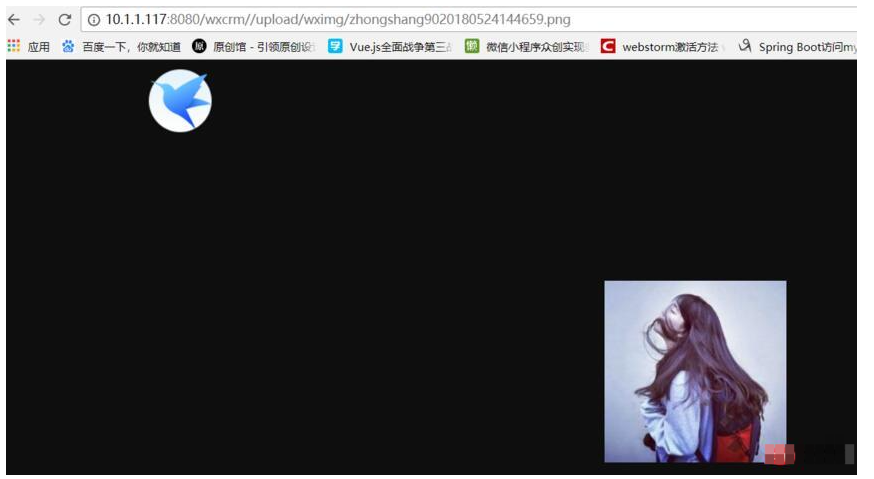
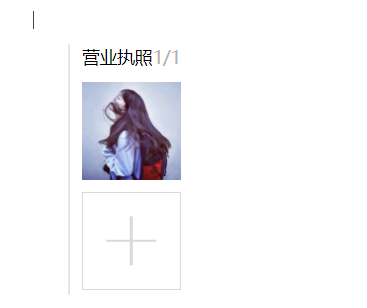
我们可以看到图片已经填入我们的服务器端里了,然后在打开我们服务器端项目根地址下面的/upload/wximg
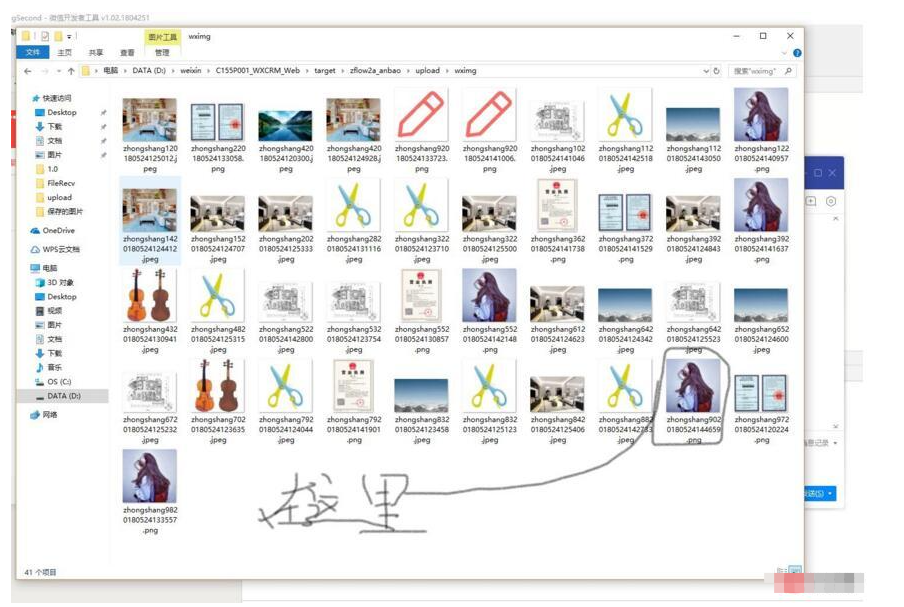
到这里就大功告成了如果是多张图片上传可以在js里面根据要上传的数量循环上传。
相信看了本文案例你已经掌握了方法。
版权声明:本文内容由网络用户投稿,版权归原作者所有,本站不拥有其著作权,亦不承担相应法律责任。如果您发现本站中有涉嫌抄袭或描述失实的内容,请联系我们jiasou666@gmail.com 处理,核实后本网站将在24小时内删除侵权内容。
发表评论

暂时没有评论,来抢沙发吧~