这篇文章主要介绍了微信小程序 scroll-view实现上拉加载与下拉刷新的实例的相关资料,需要的朋友可以参考下
微信小程序 scroll-view实现上拉加载与下拉刷新的实例
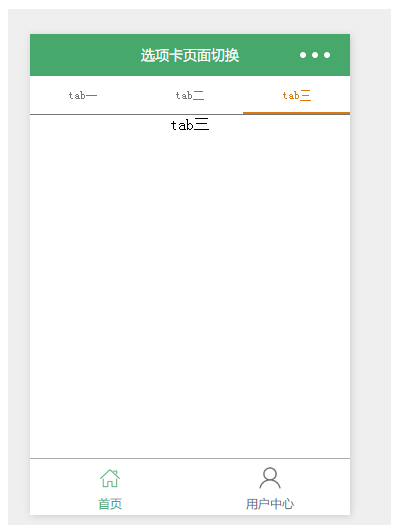
实现效果图:
如图,使用小程序的scroll-view实现的上拉加载数据,下拉刷新数据,试下代码如下:
js文件代码:
1 2 3 4 5 6 7 8 9 10 11 12 13 14 15 16 17 18 19 20 21 22 23 24 25 26 27 28 29 30 31 32 33 34 35 36 37 38 39 40 41 42 43 44 45 46 47 48 49 50 51 52 53 54 55 56 57 58 59 60 61 62 63 64 65 66 67 68 69 70 71 72 73 74 | var url = "http://192.168.30.4:8080/gtxcx/carrier/getCarrier.action";
var page = 1;
var GetList = function (that) {
that.setData({
hidden: false
});
wx.request({
url: url,
data: {
pageSize: 10,
pageNo: page
},
success: function (res) {
var l = that.data.list
for (var i = 0; i < res.data.length; i++) {
l.push(res.data[i])
}
that.setData({
list: l
});
page++;
that.setData({
hidden: true
});
}
});
}
Page({
data: {
hidden: true,
list: [],
scrollTop: 0,
scrollHeight: 0
},
onLoad: function () {
var that = this;
wx.getSystemInfo({
success: function (res) {
console.info(res.windowHeight);
that.setData({
scrollHeight: res.windowHeight
});
}
});
},
onShow: function () {
var that = this;
GetList(that);
},
bindDownLoad: function () {
var that = this;
GetList(that);
},
scroll: function (event) {
this.setData({
scrollTop: event.detail.scrollTop
});
},
refresh: function (event) {
page = 1;
this.setData({
list: [],
scrollTop: 0
});
GetList(this)
},
onPullDownRefresh: function () {
console.log("下拉")
},
onReachBottom: function () {
console.log("上拉");
}
})
|
json文件代码
1 2 3 4 5 | {
"navigationBarTitleText": "下拉刷新",
"enablePullDownRefresh": true,
"backgroundTextStyle": "dark"
}
|
wxml文件代码:
1 2 3 4 5 6 7 8 9 10 11 12 13 14 15 16 17 18 | <view class="container">
<scroll-view scroll-top="{{scrollTop}}" scroll-y="true" style="height:{{scrollHeight}}px;"
class="list" bindscrolltolower="bindDownLoad" bindscroll="scroll" bindscrolltoupper="refresh">
<view class="item" wx:for="{{list}}">
<image class="img" src="https://cdn.kuaidi100.com/images/all/56/zhongtong.png"></image>
<view class="text">
<text class="title">{{item.carrierName}}</text>
<text class="description">{{item.carrierTelphone}}</text>
<text class="description">{{item.carrierId}}</text>
</view>
</view>
</scroll-view>
<view class="body-view">
<loading hidden="{{hidden}}" bindchange="loadingChange">
加载中...
</loading>
</view>
</view>
|
wxss文件代码
1 2 3 4 5 6 7 8 9 10 11 12 13 14 15 16 17 18 19 20 21 22 23 24 25 26 27 28 29 30 31 32 33 34 35 36 | .container{
height: 100%;
padding: 20rpx;
}
.item{
display: flex;
margin-bottom: 50rpx;
width:100%;
background:#f0f0f0;
overflow:hidden;
}
.img{
height: 100rpx;
width: 100rpx;
border-radius: 50%;
}
.text{
display: flex;
flex-shrink:1;
flex-grow:1;
padding: 10rpx;
flex-wrap: wrap;
font-size: 50rpx;
}
.title{
font-size: 50rpx;
margin:10rpx 100rpx 10rpx 100rpx;
}
.description{
font-size: 50rpx;
align-self:flex-end;
}
|
注意,
以上就是本文的全部内容,希望对大家的学习有所帮助。
版权声明:本文内容由网络用户投稿,版权归原作者所有,本站不拥有其著作权,亦不承担相应法律责任。如果您发现本站中有涉嫌抄袭或描述失实的内容,请联系我们jiasou666@gmail.com 处理,核实后本网站将在24小时内删除侵权内容。


暂时没有评论,来抢沙发吧~