微信小程序选项卡功能开发步骤与方法全解析
428
2023-11-07

前段时间和同学一起做了一个小程序,用来参加学校的比赛,完成后把项目内容分割一下,贴到博客上面,算是学习记录和总结吧。

因为是学生党,而且并没有很大的需要,所以选择了微信小程序为开发者提供的“云开发”选项。
开发者可以使用云开发开发微信小程序、小游戏,无需搭建服务器,即可使用云端能力。
按照微信的说法:云开发为开发者提供完整的云端支持,弱化后端和运维概念,无需搭建服务器,使用平台提供的 API 进行核心业务开发,即可实现快速上线和迭代,同时这一能力,同开发者已经使用的云服务相互兼容,并不互斥。
目前提供三大基础能力支持:云函数:在云端运行的代码,微信私有协议天然鉴权,开发者只需编写自身业务逻辑代码 数据库:一个既可在小程序前端操作,也能在云函数中读写的 JSON 数据库 存储:在小程序前端直接上传/-云端文件,在云开发控制台可视化管理首先,开通云开发功能是第一步(默认你已经注册好了微信小程序账号而且申请好了一个AppId),经测试,云开发并不能使用测试号,只能使用真实的AppId。
注:AppID 首次开通云环境后,需等待大约 10 分钟方可正常使用云 API,在此期间官方后台服务正在做准备服务,如尝试在小程序中调用云 API 则会报 cloud init error:{ errMsg: “invalid scope” } 的错误
之后新建就行了。
新建的项目已经包含了一个快速开发的Demo,而且含有云函数示例,初始化函数等等,最好可以先看看,熟悉一下。
首先看一下app.js这个文件:
wx.cloud.init()为云端环境初始化函数,如果有多个云开发环境则需要指定env参数,如下:
具体可以查看官方文档:
developers.weixin.qq.com
接下来声明一些全局数据
最后的样子是这样:
注意将env参数换成你自己的云开发环境。
把Pages目录下的除index外的文件夹删除。
并且在app.json中的Pages字段中下仅保留index项:
app.json
页面文件内容如下:
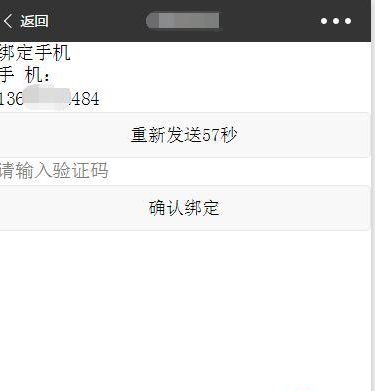
index.wxml
因为微信小程序声称wx.getUserInfo(Object object)在以后将不再支持,这里使用另一种方式来显示用户的信息。
标签<open-data type=""></open-data>可以用来显示用户的一些信息
<open-data type="userAvatarUrl"></open-data>显示用户的头像
显示用户的昵称
详情可以查看:wx.getUserInfo中的示例代码部分
页面样式如下:
index.wxss
这里使用了全屏背景
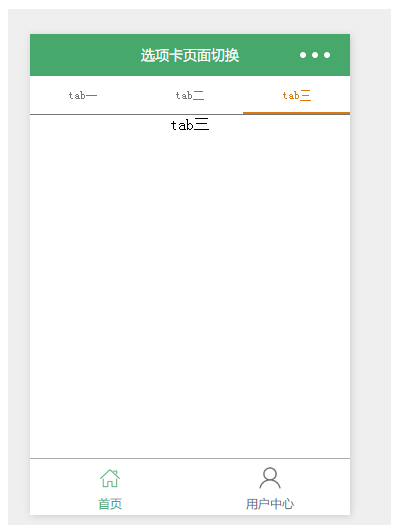
效果如下:
#接下来是js脚本#
首先说一下思路
流程图如下
接下来是index.js
下面是云函数配置
根据传入的参数:update ,getSelf ,setSelf ,getOthers
分别执行:更新用户信息,获取自身信息,设置自身信息,获取其他用户信息 四种操作。
此函数需要使用npm添加md5模块,用来加密用户openid并将其存放在数据库中
数据库数据形式:
至此就全部完成了。有需要的可以到github上查看:github:john-tito
版权声明:本文内容由网络用户投稿,版权归原作者所有,本站不拥有其著作权,亦不承担相应法律责任。如果您发现本站中有涉嫌抄袭或描述失实的内容,请联系我们jiasou666@gmail.com 处理,核实后本网站将在24小时内删除侵权内容。
发表评论

暂时没有评论,来抢沙发吧~