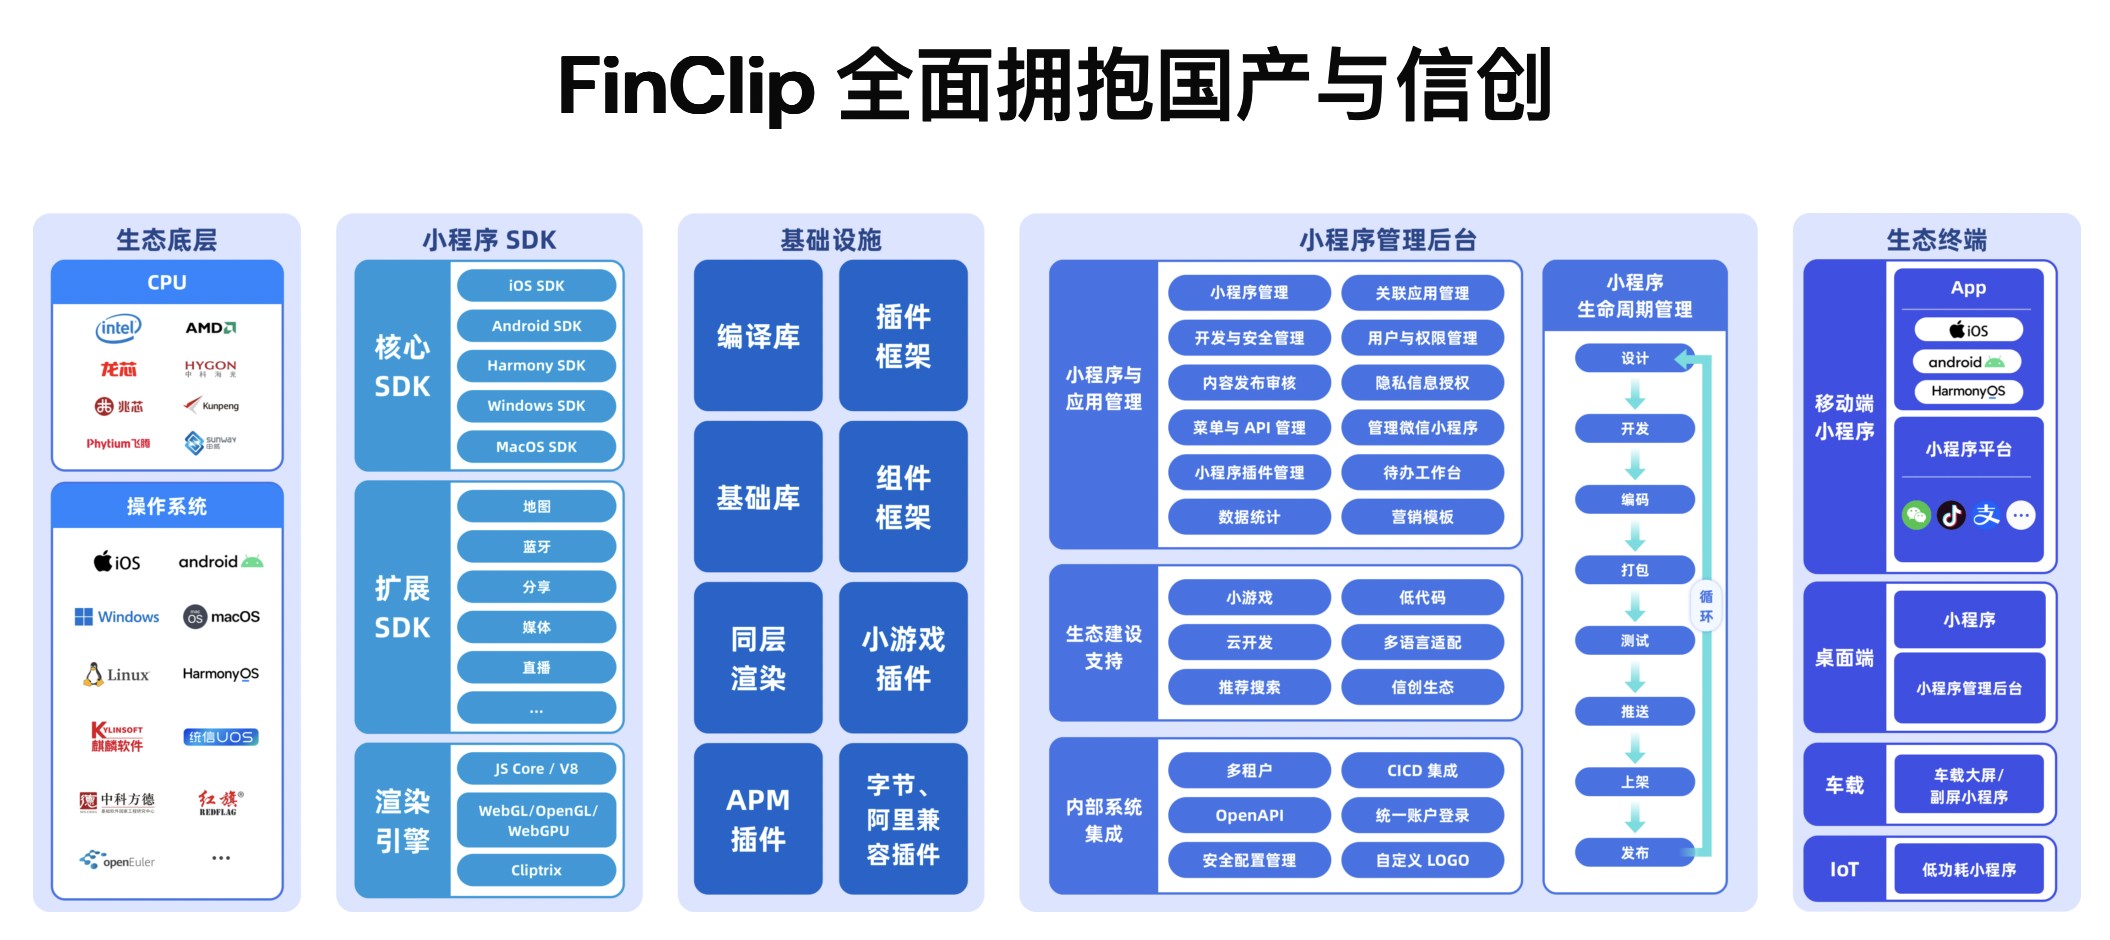
轻量级前端框架助力开发者提升项目效率与性能
496
2023-07-27

websocket在springboot+vue中的使用教程

1、websocket在springboot中的一种实现
在java后台中,websocket是作为一种服务端配置,其配置如下
@Configuration
public class WebSocketConfig {
@Bean(name="serverEndpointExporter")
public ServerEndpointExporter getServerEndpointExporterBean(){
return new ServerEndpointExporter();
}
}
加入上面的配置之后就可以编辑自己的websocket实现类了,如下
@Component
@ServerEndpoint(value =http:// "/messageSocket/{userId}")
public class MessageWebSocket {
private static final Logger logger = LoggerFactory.getLogger(MessageWebSocket.class);
/**
* 静态变量,用来记录当前在线连接数。应该把它设计成线程安全的。
*/
private static int onlineCount = 0;
/**
* key: userId value: sessionIds
*/
private static ConcurrentHashMap
/**
* concurrent包的线程安全Map,用来存放每个客户端对应的MyWebSocket对象。
*/
private static ConcurrentHashMap
/**
* key: sessionId value: userId
*/
private static ConcurrentHashMap
/**
* 当前连接会话,需要通过它来给客户端发送数据
*/
private Session session;
/**
* 连接建立成功调用的方法
* */
@OnOpen
public void onOpen(Session session, @PathParam("userId") Integer userId) {
System.out.println(applicationContext);
try {
this.session = session;
String sessionId = session.getId();
//建立userId和sessionId的关系
if(userSessionMap.containsKey(userId)) {
userSessionMap.get(userId).add(sessionId);
}else{
ConcurrentLinkedQueue
queue.add(sessionId);
userSessionMap.put(userId, queue);
}
sessionUserMap.put(sessionId, userId);
//建立sessionId和websocket引用的关系
if(!websocketMap.containsKey(sessionId)){
websocketMap.put(sessionId, this);
addOnlineCount(); //在线数加1
}
}catch (Exception e){
logger.error("连接失败");
String es = ExceptionUtils.getFullStackTrace(e);
logger.error(es);
}
}
/**
* 连接关闭调用的方法
*/
@OnClose
public void onClose() {
String sessionId = this.session.getId();
//移除userId和sessionId的关系
Integer userId = sessionUserMap.get(sessionId);
sessionUserMap.remove(sessionId);
if(userId != null) {
ConcurrentLinkedQueue
if(sessionIds != null) {
sessionIds.remove(sessionId);
if (sessionIds.size() == 0) {
userSessionMap.remove(userId);
}
}
}
//移除sessionId和websocket的关系
if (websocketMap.containsKey(sessionId)) {
websocketMap.remove(sessionId);
subOnlineCount(); //在线数减1
}
}
/**
* 收到客户端消息后调用的方法
*
* @param messageStr 客户端发送过来的消息
**/
@OnMessage
public void onMessage(String messageStr, Session session, @PathParam("userId") Integer userId) throws IOException {
}
/**
*
* @param session
* @param error 当连接发生错误时的回调
*/
@OnError
public void onError(Session session, Throwable error) {
String es = ExceptionUtils.getFullStackTrace(error);
logger.error(es);
}
/**
* 实现服务器主动推送
*/
public void sendMessage(String message, Integer toUserId) throws IOException {
if(toUserId != null && !StringUtil.isEmpty(message.trim())){
ConcurrentLinkedQueue
if(sessionIds != null) {
for (String sessionId : sessionIds) {
MessageWebSocket socket = websocketMap.get(sessionId);
socket.session.getBasicRemote().sendText(message);
}
}
}else{
logger.error("未找到接收用户连接,该用户未连接或已断开");
}
}
public void sendMessage(String message, Session session) throws IOException {
session.getBasicRemote().sendText(message);
}
/**
*获取在线人数
*/
public static synchronized int getOnlineCount() {
return onlineCount;
}
/**
*在线人数加一
*/
public static synchronized void addOnlineCount() {
MessageWebSocket.onlineCount++;
}
/**
*在线人数减一
*/
public static synchronized void subOnlineCount() {
MessageWebSocket.onlineCount--;
}
}
到此后台服务端的工作已经做好了,前端如何作为客户端进行连接呢,请继续往下看。。
为了实现断开自动重连,我们使用的reconnecting-websocket.js组件
//websocket连接实例
let websocket = null;
//初始话websocket实例
function initWebSocket(userId) {
// ws地址 -->这里是你的请求路径
let host = urlConfig.wsUrl + 'messageSocket/' + userId;
if ('WebSocket' in window) {
websocket = new ReconnectingWebSocket(host);
// 连接错误
websocket.onerror = function () {
}
// 连接成功
websocket.onopen = function () {
}
// 收到消息的回调,e.data为收到的信息
websocket.onmessage = function (e) {
}
// 连接关闭的回调
websocket.onclose = function () {
}
//监听窗口关闭事件,当窗口关闭时,主动去关闭websocket连接,防止连接还没断开就关闭窗口,server端会抛异常。
window.onbeforeunload = function () {
closeWebSocket();
}
} else {
alert('当前浏览器不支持websocket')
return;
}
}
//关闭WebSocket连接
function closeWebSocket() {
websocket.close();
}
//发送消息
function sendMessage(message){
websocket.send(message);
}
至此一个简易的完整的websocket已经完成了,具体功能可以依此为基本进行扩展。
总结
以上所述是给大家介绍的websocket在springboot+vue中的使用教程,希望对大家有所帮助,如果大家有任何疑问欢迎给大家留言,会及时回复大家的!
版权声明:本文内容由网络用户投稿,版权归原作者所有,本站不拥有其著作权,亦不承担相应法律责任。如果您发现本站中有涉嫌抄袭或描述失实的内容,请联系我们jiasou666@gmail.com 处理,核实后本网站将在24小时内删除侵权内容。
发表评论
暂时没有评论,来抢沙发吧~