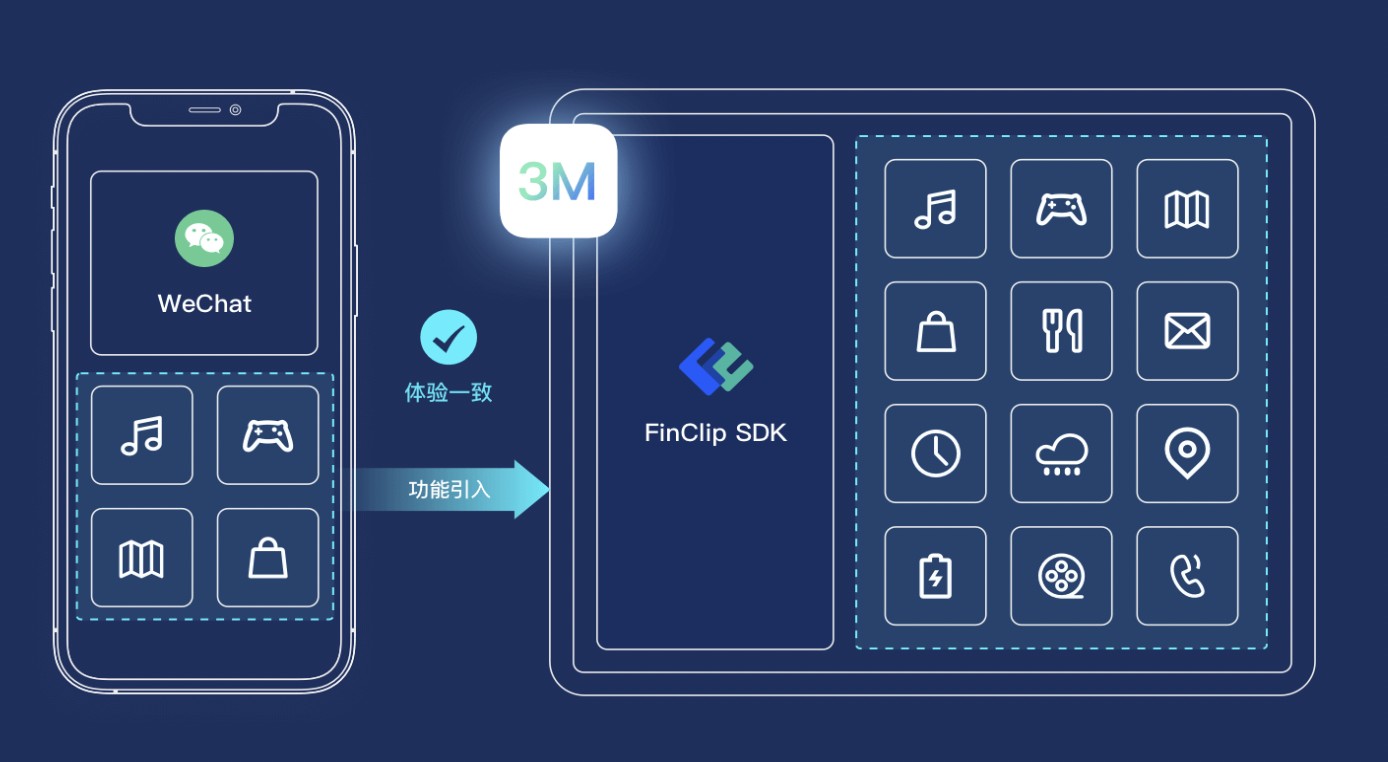
app开发者平台在数字化时代的重要性与发展趋势解析
1562
2023-01-25

SpringBoot整合MongoDB的步骤详解

项目结构:
1.pom引入mongodb依赖
2 配置application.properties
#spring.data.mongodb.host=127.0.0.1
#spring.data.mongodb.port=27017
#spring.data.mongodb.database=books
###这种类似于关系型数据库url配置
spring.data.mongodb.uri=mongodb://127.0.0.1:27017/books
3.创建mongodb文档映射实体类
@Document(collection = "comment") //如果省略集合属性,默认为类名首字母小写
//设置复合索引
//@CompoundIndex(def="{'userId':1},{'nickName':-1}")
public class Comment implements Serializable {
@Id //对应comment中的_id
private String id;
@Field("content")//属性对应mongodb字段名,如果一致,无须该注解
private String content;//吐槽内容
private String articleId;//文章id
private Date publishTime;//发布日期
@Indexed //添加一个单字段的索引
private String userId;//发布人id
private String nickName;//发布人昵称
private Date createDateTime;//评论的日期时间
private Integer likeNum;//点赞数
private Integer replyNum;//回复数
private String state;//状态
private String parentId;//上级id
// 此处忽略getter与setter方法
}
SpringBoot中MongoDB常用注解:
@Document
标注在实体类上,将java类声明为mongodb的文档,可以通过collection参数指定这个类对应的文档。类似于Hibernate的entity注解,表明由mongo来维护该集合(表)。
@id
主键,不可重复,自带索引,可以在定义的列名上标注,需要自己生成并维护不重复的约束。
如果自己不设置@Id主键,mongo会自动生成一个唯一主键,插入效率远高于自己设置主键。
在实际业务中不建议自己设置主键,应交给mongo自己生成,可以另外设置一个业务id,如int型字段,用自己设置的业务id来维护相关联的集合(表)。
@Indexed
声明该字段需要加索引,加索引后以该字段为条件检索将大大提高速度。
唯一索引的话是@Indexed(unique = true)。
也可以对数组进行索引,如果被索引的列是数组时,MongoDB会索引这个数组中的每一个元素。
也可以对整个Document进行索引,排序是预定义的按插入BSON数据的先后升序排列。
@CompoundIndex
复合索引,加复合索引后通过复合索引字段查询将大大提高速度。
@Field
实体类属性对应集合(表)字段名,如果一致,无须该注解
4.service业务层
CommonService,操作mongo的具体业务类
采用Repository和MongoTemplate两种方式来实现的;Repository 提供最基本的数据访问功能,其几个子接口则扩展了一些功能。
MongoTemplate核心操作类:Criteria和Query
Criteria类:封装所有的语句,以方法的形式查询。
Query类:将语句进行封装或者添加排序之类的操作。
@Service
public class CommentService {
@Autowired
private CommentRepository commentRepository; // 注入DAO
@Autowired
private MongoTemplate mongoTemplate; // 注入Mongodb提供的操作模板
// 保存一个
public void saveComment(Comment comment){
commentRepository.save(comment);
// mongoTemplate.save(comment);
// mongoTemplate.insert(comment);
}
// 批量保存
public void mutilSaveComment(List
commentRepository.saveAll(list);
// mongoTemplate.insertAll(list);
}
// 更新一个
public void updateComment(Comment comment){
commentRepository.save(comment);
}
// 查询全部
public List
// return commentRepository.findAll();
return mongoTemplate.findAll(Comment.class);
}
// 条件查询
public List
return mongoTemplate.find(query,Comment.class);
}
// 查询全部并以id排序返回结果
public List
// return commentRepository.findAll(Sort.by(Sort.Order.desc("_id")));
Query query=new Query();
query.with(Sort.by(Sort.Direction.DESC,"id"));
return mongoTemplate.find(query,Comment.class);
}
// 通过id查询
public Comment findCommentById(String id){
//return commentRepository.findById(id).get();
return mongoTemplate.findById(id,Comment.class);
}
/**
* @param parentId
* @param page
* @param size
* @return
*/
public Page
return commentRepository.findByParentId(parentId, PageRequest.of(page-1,size));
}
// 方式二
public List
Query query=Query.query(Criteria.where("parentId").is(parentId));
query.with(PageRequest.of(page-1,size));
return mongoTemplate.find(query,Comment.class);
}
// 通过id删除
public void deleteById(String id){
// commentRepository.deleteById(id);
Comment comment=new Comment();
comment.setId(id);
mongoTemplate.remove(comment);
}
// 删除全部数据
public void deleteAll(){
commentRepository.deleteAll();
}
// 批量删除
public void deleteMulti(List
commentRepository.deleteAll(list);
}
// 根据id更新一条文档:点赞数加1
public void updateCommentLikeNumm(String id){
// 点赞数加一,效率低,增加id开销
// Comment comment=commentRepository.findById(id).get();
// comment.setLikeNum(comment.getLikeNum()+1);
// commentRepository.save(comment);
// 拿到查询对象
Query query=Query.query(Criteria.where("_id").is(id));
// 拿到更新对象
Update update=new Update();
// 局部更新 相当于$set
// update.set(key,value);
// 递增$inc
// update.inc("likeNum",1);
update.inc("likeNum"); // 指定字段自增1
mongoTemplate.updateFirst(query,update,"comment");
}
// 有条件的统计
public Long commentCount(Query query){
return mongoTemplate.count(query,Comment.class);
}
}
5.DAO层
dao层CommentRepository 继承MongoRepository,MongoRepository中已经预定义了一些增删查的方法,根据JPA的命名规范可以定义一些查询方法,不需要具体实现,底层会帮你实现。
public interface CommentRepository extends MongoRepository
//新增按父id分页查询
Page
}
6.测试
@RunWith(SpringRunner.class)
@SpringBootTest
public class CommentServiceTest {
@Autowired
private CommentService commentService;
@Test
public void saveCommentTest(){ // 新增单个
Comment comment=new Comment();
//comment.setId("2");
comment.setArticleId("777");
comment.setContent("添加数据测试");
comment.setPublishTime(new Date());
comment.setUserId("1001");
comment.setNickName("张三");
comment.setCreateDateTime(new Date());
comment.setLikeNum(1);
comment.setReplyNum(0);
comment.setState("1");
comment.setParentId("0");
commentService.saveComment(comment);
}
@Test
public void mutilSaveComment(){ // 批量新增
List
Comment comment;
for(int i=1;i<=10;i++){
comment=new Comment();
comment.setId(""+i);
comment.setArticleId(""+i);
comment.setContent("添加数据测试"+i);
comment.setPublishTime(new Date());
comment.setUserId("1001");
comment.setNickName("张三");
comment.setCreateDateTime(new Date());
comment.setLikeNum(0);
comment.setReplyNum(0);
comment.setState("1");
comment.setParentId("0");
list.add(comment);
}
commentService.mutilSaveComment(list);
}
@Test
public void findCommentListTest() { // 查询全部
List
for(Comment comment:list){
System.out.println(comment);
}
}
@Test
public void findCommentListOrderTest() { // 查全部并通对id排序
List
for(Comment comment:list){
System.out.println(comment);
}
}
@Test
public void findCommentById() { // 通过id删除
Comment comment=commentService.findCommentById("1");
System.out.println(comment);
}
@Test
public void findByParentId(){ // 通过父id分页查询1
Page
System.out.println(page.getTotalElements());
System.out.println(page.getContent());
}
@Test
public void findByparentIdPage2(){ // 通过父id分页查询2
List
for(Comment comment1:list){
System.out.println(comment1);
}
}
@Test
public void deleteById(){ // 通过id删除评论
commentService.deleteById("1");
}
@Test
public void deleteAll(){ // 删除全部
commentService.deleteAll();
}
@Test
public void dezOYhIleteMulti(){ // 批量删除
List
Comment comment;
for(int i=1;i<=10;i++) {
comment = new Comment();
comment.setId("" + i);
list.add(comment);
}
commentService.deleteMulti(list);
}
@Test
public void findCommentByContion(){ // 多条件查询in
// 拿到查询范围
List
list.add("1");
list.add("2");
list.add("3");
// 根据范围拿到查询对象
Query query=Query.query(Criteria.where("_id").in(list));
// 根据查询条件拿到结果
List
for(Comment comment1:list2){
System.out.println(comment1);
}
}
@Test
public void findCommentContionByGtLt(){ // 多条件查询大于2小于等于6
// 拿到查询对象
Query query=Query.query(Criteria.where("likeNum").gte(2).lte(6));
// 根据查询条件拿到结果
List
for(Comment comment1:list){
System.out.println(comment1);
}
}
@Test
public void findCommentContionByAnd(){ // 多条件查询and
//查询对象
Query query=Query.query(new Criteria().andOperator(Criteria.where("likeNum").gte(2)
,Criteria.where("state").is("1")));
List
for(Comment comment1:list){
System.out.println(comment1);
}
}
@Test
public void findCommentContionByOr(){ // 多条件查询or
//查询对象
Query query=Query.query(new Criteria().orOperator(Criteria.where("likeNum").gte(2)
,Criteria.where("state").is("0")));
List
for(Comment comment1:list){
System.out.println(comment1);
}
}
@Test
public void updateCommentLikeNumm(){ // 更新 点赞数加一
commentService.updateCommentLikeNumm("1");
}
@Test
public void commentCount(){ // 统计查询
Query query=Query.query(Criteria.where("likeNum").gte(2)); // 拿到查询器
Query query1=new Query();
Long count1=commentService.commentCount(query); // 查符合条件的文档个数
Long count2=commentService.commentCount(query1); // 查全部
System.out.println("点赞数大于等于2的文档有======="+count1);
System.out.println("统计总数======="+count2);
}
}
到此已经在SpringBoot项目中引入了MongoDB,并通过MongoRepository和MongoTemplate两种方式来实现了基本的增删改查操。
以上就是SpringBoot整合MongoDB的步骤详解的详细内容,更多关于SpringBoot整合MongoDB的资料请关注我们其它相关文章!
版权声明:本文内容由网络用户投稿,版权归原作者所有,本站不拥有其著作权,亦不承担相应法律责任。如果您发现本站中有涉嫌抄袭或描述失实的内容,请联系我们jiasou666@gmail.com 处理,核实后本网站将在24小时内删除侵权内容。
发表评论
暂时没有评论,来抢沙发吧~