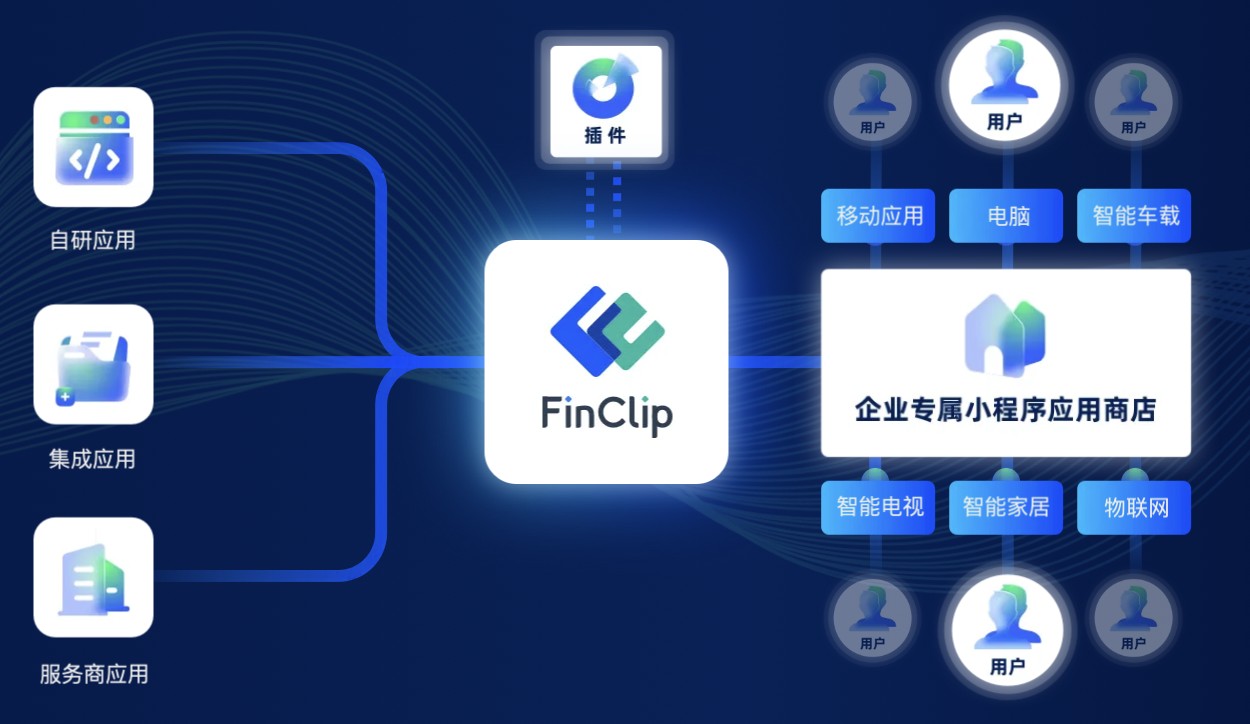
洞察探索小游戏大厅如何提升用户体验与企业转型效率
964
2022-10-05

微信小程序商城开发之https框架的搭建以及顶部和底部导航的实现

本篇文章给大家带来的内容是关于微信小程序商城开发之https框架的搭建以及顶部和底部导航的实现,有一定的参考价值,有需要的朋友可以参考一下,希望对你有所帮助。
之前的小程序商城系列已经更新到购物车模块了但是很多读者反映如何能够更接近于实战场景,动态的获取数据并展示出来!那么经过这段时间的准备我们开始来做新的微商城版本,该版本是完全按照工作场景来开发的。
小程序https域名配置
登录注册好的微信小程序官方账号并登录平台——>设置——>开发设置,如下图所示:
程序员必备接口测试调试工具:立即使用Apipost = Postman + Swagger + Mock + Jmeter Api设计、调试、文档、自动化测试工具 后端、前端、测试,同时在线协作,内容实时同步
备注:https://100boot- 是已经认证过的域名,大家可以放心使用。
创建小程序项目并封装ajax请求
创建小程序项目可以参考文章微信小程序电商实战-入门篇
新建ajax.js
#目录结构-pages--utils---ajax.js-
const api = 'https://100boot-/wxShop/';-
封装request请求
wx.request({ method: opt.method || 'GET', url: api + opt.url, header: { 'content-type': 'application/json' // 默认值 }, data: opt.data, success: function (res) { if (res.data.code == 100) { if (opt.success) { opt.success(res.data); } } else { console.error(res); wx.showToast({ title: res.data.message, }) } } })}module.exports.request = request-
配置开发者key
打开utils/util.js,增加key
module.exports = { formatTime: formatTime, key: '开发者key'}-
微信小程序微商城:开发者key获取
app.json
{ "pages": [ "pages/home/home", "pages/cart/cart", "pages/detail/detail", "pages/classify/classify", "pages/mine/mine", "pages/index/index", "pages/logs/logs" ], "window": { "backgroundTextStyle": "light", "navigationBarBackgroundColor": "#f0145a", "navigationBarTitleText": "微商城", "backgroundColor": "#f0145a" }, "tabBar": { "color": "#858585", "selectedColor": "#f0145a", "backgroundColor": "#ffffff", "borderStyle": "#000", "list": [ { "pagePath": "pages/home/home", "iconPath": "images/home.png", "selectedIconPath": "images/home_select.png", "text": "首页" }, { "pagePath": "pages/classify/classify", "iconPath": "images/classify.png", "selectedIconPath": "images/classify_select.png", "text": "分类" }, { "pagePath": "pages/cart/cart", "iconPath": "images/cart.png", "selectedIconPath": "images/cart_select.png", "text": "购物车" }, { "pagePath": "pages/mine/mine", "iconPath": "images/mine.png", "selectedIconPath": "images/mine_select.png", "text": "我的" } ] }}-
app.wxss
.container { height: 100%; display: flex; flex-direction: column; align-items: center; justify-content: space-between; padding: 200rpx 0; box-sizing: border-box;}-
home.wxml
{{item.navbarName}} -
home.wxss
page{ display: flex; flex-direction: column; height: 100%; } .navbar{ flex: none; display: flex; background: #fff; } .navbar .item{ position: relative; flex: auto; text-align: center; line-height: 80rpx; font-size:14px;} /* 顶部导航字体颜色 */.navbar .item.active{ color: #f0145a; } /* 顶部指示条属性 */.navbar .item.active:after{ content: ""; display: block; position: absolute; bottom: 0; left: 0; right: 0; height: 6rpx; background: #f0145a; }-
home.js
引用ajax和utils公共js
const ajax = require('../../utils/ajax.js');const utils = require('../../utils/util.js');-
页面初始化导航数据
data: { navbars:null, currentTab: 0, },-
页面初始化加载导航数据函数
/** * 生命周期函数--监听页面加载 */onLoad: function (options) { var that = this; //加载navbar导航条 that.navbarShow(); },-
ajax获取导航数据
navbarShow:function(success){ var that = this; ajax.request({ method: 'GET', url: 'home/navBar?key=' + utils.key, success: data => { that.setData({ navbars: data.result }) console.log(data.result) } }) },-
实现效果如下
版权声明:本文内容由网络用户投稿,版权归原作者所有,本站不拥有其著作权,亦不承担相应法律责任。如果您发现本站中有涉嫌抄袭或描述失实的内容,请联系我们jiasou666@gmail.com 处理,核实后本网站将在24小时内删除侵权内容。

发表评论

暂时没有评论,来抢沙发吧~